How to Use the Auto Check Out Function
With auto check-out, visitors can be automatically checked out based on the time set by you.

With auto check-out, visitors can be automatically checked out based on the time set by you, which helps you keep track of your onsite visitors accurately.
Setup Steps
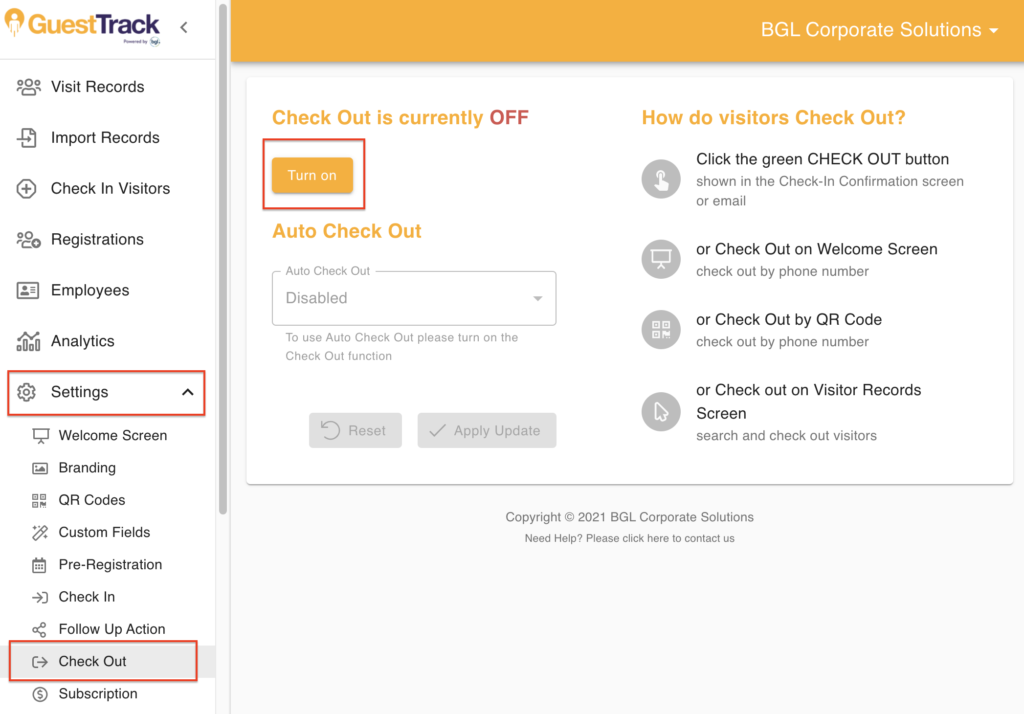
Step 1: Enable check out
Turn on the Check Out function in Settings > Check Out.
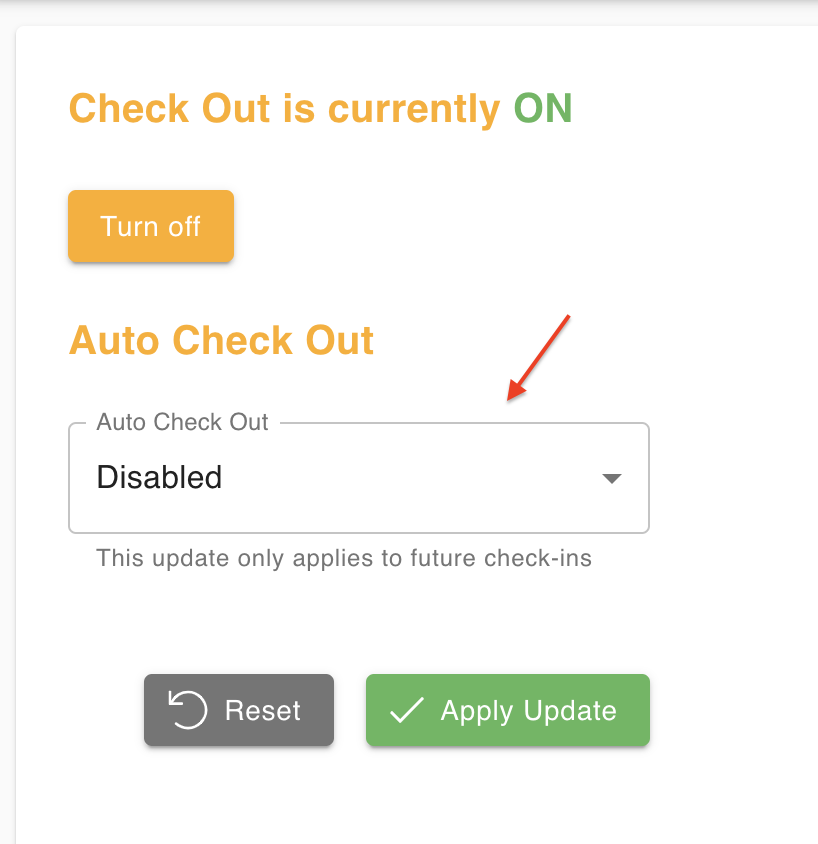
Step 2: Select option
Select an auto check-out option from the dropdown.
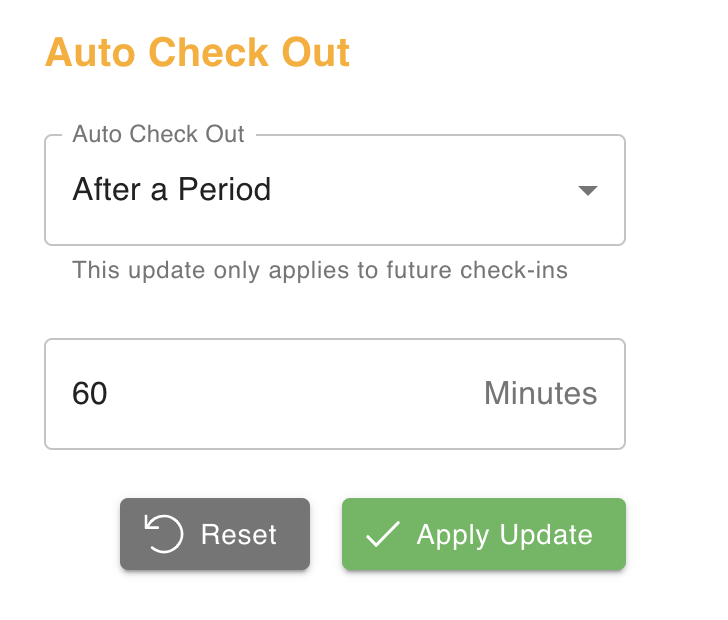
Step 3: After a period
Check out "after a period" would automatically check out visitors in the time period set (eg. 60 minutes).
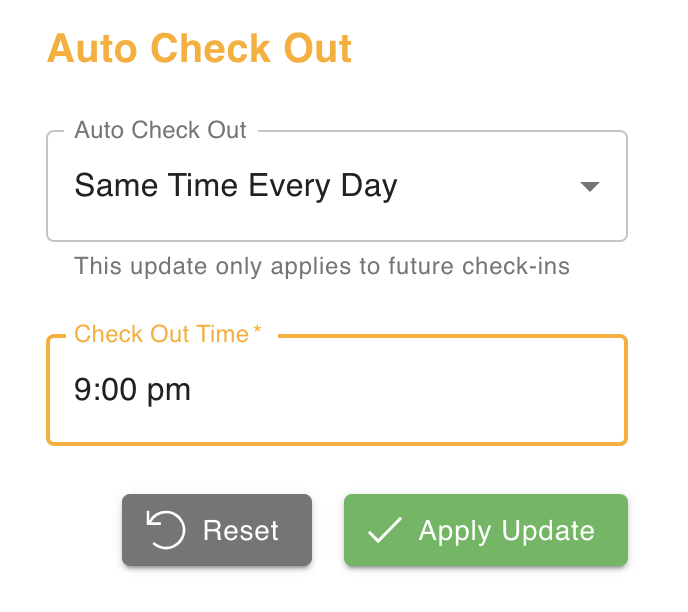
Step 4: At a set time
Select "At a set time" would check out visitors at a specific date and time. For example if you are running a 3 day event, set a check-out time so that all guests will be checked out at the end of the event. Again make sure your input follows the date and time format.
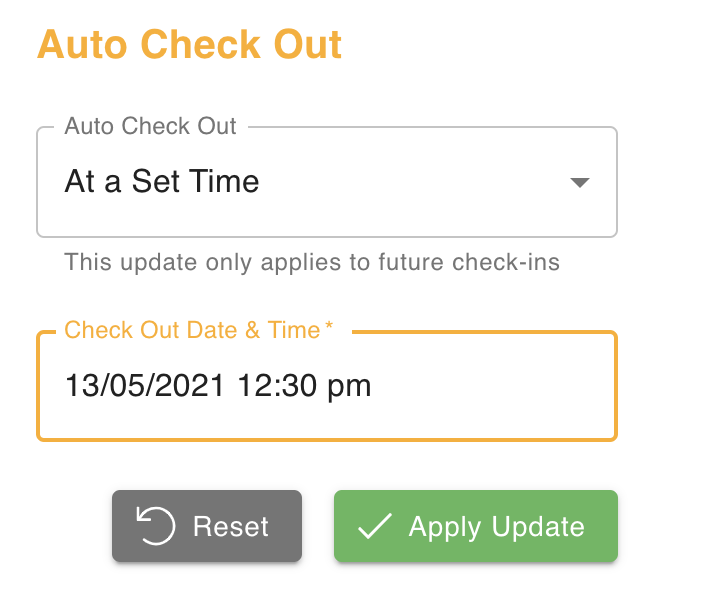
Step 5: Save
Click the "Apply Update" button to confirm your changes.
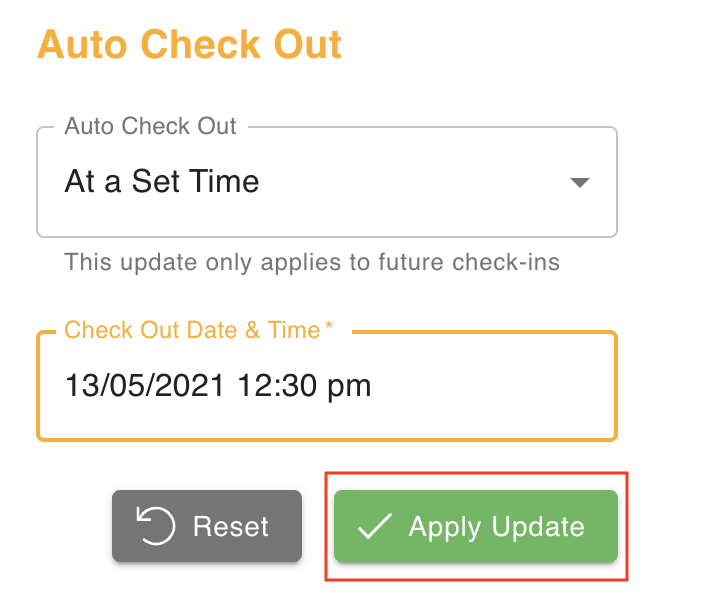
Auto Check Out Options
- After a Period - Check out after X minutes/hours
- Same Time Every Day - Daily check out at specific time
- At a Set Time - One-time check out at specific date/time
Benefits
- Accurate data - Know who's still on-site
- No manual work - Automatic check-out
- Flexible - Multiple timing options
- Event-ready - Set end time for events